How to take a good photo

You don't need expensive equipment to take a good photo – the camera on your smartphone will usually be enough. Follow our top tips to help you get the most out of your camera.
Landscape or portrait
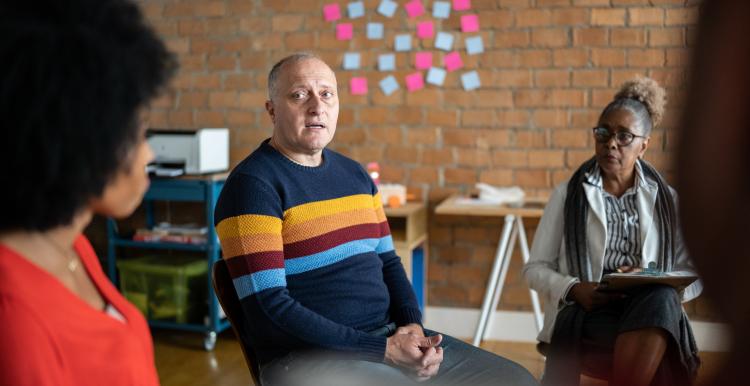
Think about whether your photo needs to be landscape (with the longer edges along the top and bottom, like the picture on this article) or portrait (with the shorter edges along the top and bottom). For most social media and the web, it's best to take landscape photos.
One exception is Instagram, where posts are square. If you're planning to post there, allow space on one or both sides of the subject if you're taking a landscape picture, or above or below the subject for a portrait picture. Then you can easily crop the photo without cropping the subject.
Zoom
As soon as you start zooming on your phone, you lose picture quality. Instead, get closer to the subject if you can, or take the photo and crop it later.
Lighting and focus
Try to use natural light where possible. If you need to shoot indoors, try to be near a large window. Avoid taking pictures with the window or sunlight directly behind the subject – it will be too bright and the person in your photo will be in shadow. Instead, take the picture with your back to the window.
Hold the camera steady and, if you’re taking a picture on your phone, tap on your subject when you’ve positioned them on your phone’s screen. This will set the proper exposure and focus, and avoid a blurry picture.
To help steady your camera, you can try resting it against a stable surface like a table.
Permissions
Make sure the people in your photos understand where and how the photos will be used and get their written permission using our photography consent form.
Let people know you're taking photos and why beforehand, so that they can move out of the shot if they don't want you to use their image. This helps you avoid taking great photos that you then can't use.
Subject
Think about what you're trying to get across
Think about the emotions you want to capture and how you want to make people feel when they see your photo. For example, if you're at a community event, try to get photos of people smiling and interacting with the public.
Also think about whether anything in the photo makes it clear who or where people are, and whether that's helpful or not.
For example, if you're taking photos to show your staff out in the community, you'll want to make sure you capture any Healthwatch-branded clothing, banners etc. If you're hoping to use photos for a few years, you may want to avoid capturing anything that clearly shows the date.
To help you, you can put together a list of shots you want beforehand. Think about what you might use them for, and what you'll need to include and avoid to make them work for that purpose.
Try to avoid photographing sensitive or personal information. This might appear on:
- Name badges
- Patient wristbands
- Wall charts with patient details
- Paperwork
- QR codes that aren’t in public spaces
- Computer screens
If you do accidentally include this in a shot, make sure to edit it out before you use it. You can use the blur tool in the photo editor on your computer.
Take pictures of real people
Show the staff, volunteers and case studies behind our work to help your audiences understand what we do and see the people that make up Healthwatch. Try to make people feel comfortable so you can get the most natural photo of them.
Show people what you’re working on
You could share sneak peeks of a new report you’re going to publish, a group of volunteers working on a project, or staff and volunteers speaking to people in a health and care setting or at a community event.
What should people wear?
Solid, neutral colours often work best for headshots, as you want to avoid distracting attention away from people’s faces. If you're taking any video footage, remember that stripey clothing can look warped on camera.
Top tips
Avoid taking photographs of:
- PowerPoint presentations – it's likely there'll be issues with exposure. If you'd like to capture a presentation, make the person presenting the focus instead.
- Dark or empty rooms from events – try to capture your setup during the action instead.
- Empty stalls from events – instead, have someone stand behind it, or wait until someone comes over to talk to get some nice candid shots.
- The back of people's heads (unless the focus is on somebody facing them and the camera).
Location and background
Your choice of where to take photos is as important as the composition and the lighting. Here are some examples you may want to use:
Locations
- Outside the building with signage in the background
- In the patient/treatment room
- In the reception or waiting room
- Community events
- In your office
Backgrounds
- Go outdoors and find a clear, colourful, or bright background, such as the side of a brick building.
- Place products on wooden tables, floors, clear tables or tiles.
- Hang a piece of ironed fabric on a wall to use as a backdrop.
- Avoid busy or untidy backgrounds that might distract from the subject of your photo or look unprofessional.
- Make sure you've moved anything you wouldn't want people to see, such as private documents.
- Create separation from the background. Make sure that your subject doesn’t stand too close to the background.
Take multiple shots
- Take a number of photographs from different angles. This allows you to choose the best one and build your photography library.
